-
Automations
-
Integrations
-
Import & Export
-
Privacy and Security
-
Infinity Partner Programs
-
Announcements
Columns
The Columns view (also known as the Kanban board) is one of the most popular views in project management, as it allows you to visualize your workflow with ease and navigate your boards seamlessly.

Of course, project managers are not the only ones who can benefit from Columns. Store owners, real estate agents, artists, support teams, and anyone else who requires a more visual representation of their tasks and projects will find the Columns view great to work in.
Additionally, if you're a Trello user who decided to switch over to Infinity, this view will definitely make the transition a lot easier, as it is somewhat similar to Trello's interface.
Each ticket in your Columns view represents one item.
How to Add Items to Columns
Adding items in the Columns view only takes a couple of seconds. All you have to do is click on the blue plus sign in the column where you want to add an item.
If you already have some items in place, this plus sign will be underneath all of them, in every column.

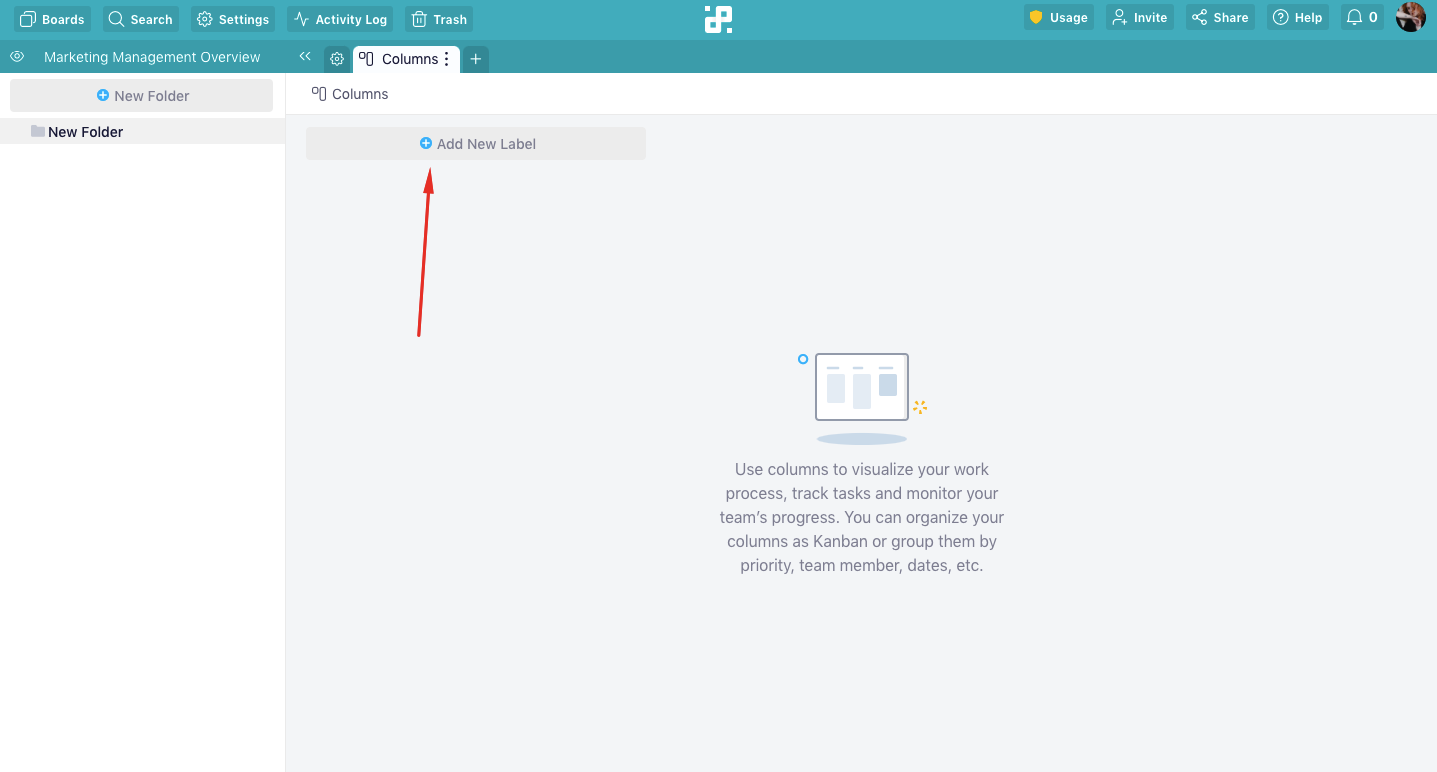
If you're starting from scratch, you'll only see an empty column and a plus sign in it.
When you click on the plus sign, a pop-up modal or sidebar will open up. In it, you'll get to customize your items using attributes.
If you have some items and attributes in your board already, then you'll see these attributes when customizing your item. If you're starting from scratch, you'll need to create attributes, as well.
Repeat the process as many times as you need.
How to Use the Columns View
As we've mentioned already, columns are a great way to present your data in a more visual way. They allow you to fully see any pictures you add to your items, attachments, descriptions, and so on.
To make the most out of them, there are a couple of things you'll want to pay attention to.
Columns Require Using the Group Option
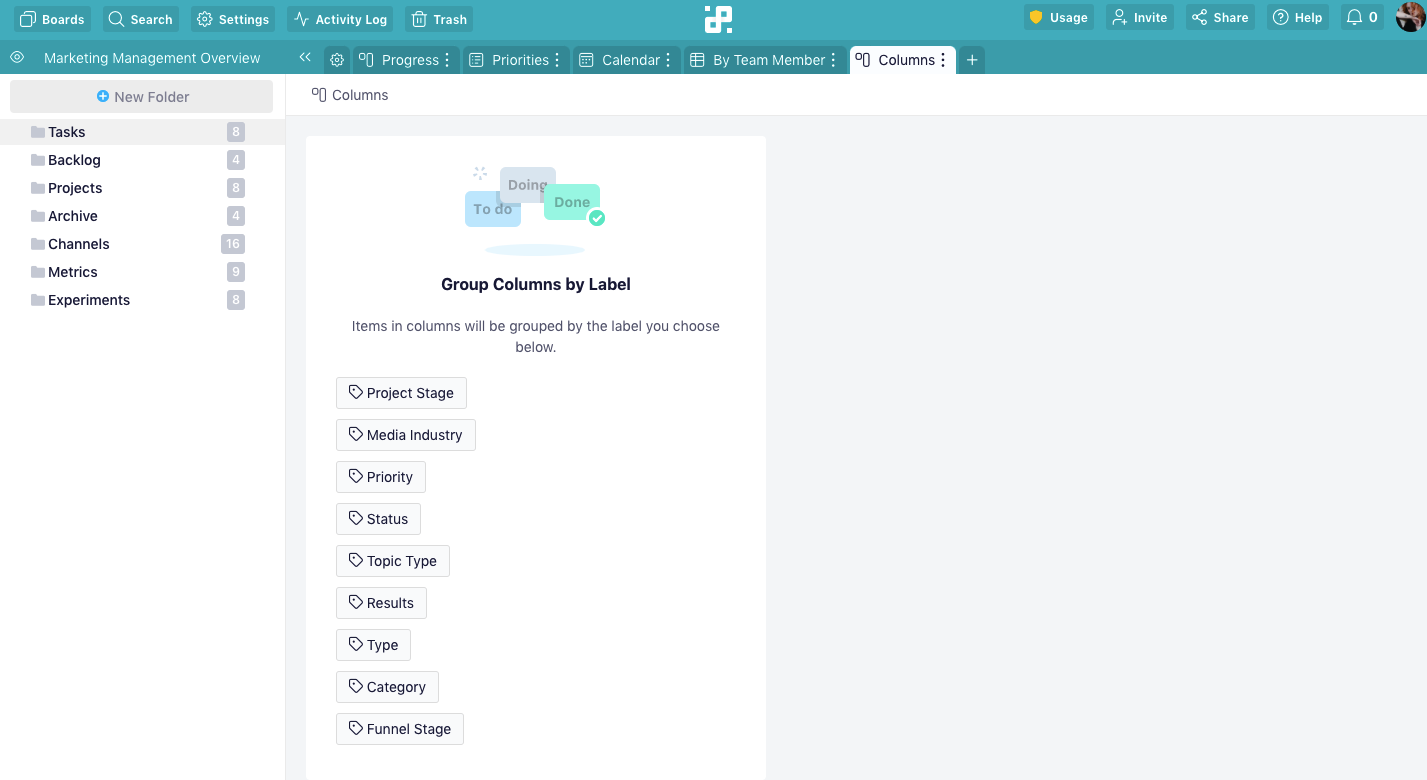
Whether you're starting from scratch or just choosing the Columns view in a new tab of an existing folder, the first thing you'll need to do is group your items by a label.
That's how columns are created in the first place.
If you're creating a new folder or a tab in an old board and want to use the Columns view, you'll need to pick one of the existing labels to group your items.

In case you're starting from scratch and have no attributes in place, you'll be able to add a new label and create your columns that way.

You can easily change what you want to group your columns by whenever you decide to. Simply click on the Grouped By button to change the attribute.
Drag and Drop for Easier Organization
In Infinity, moving items is as simple as drag-and-dropping them, but in the Columns view this function can come in particularly handy.
For example, if your columns are grouped by a Status label, you could easily move your items from the To Do column to In Progress and then Done. The same goes for priority or any other label or attribute you create.
It's also possible to drag and drop items within the same column, and rearrange your tasks that way.
How to Customize Your Columns
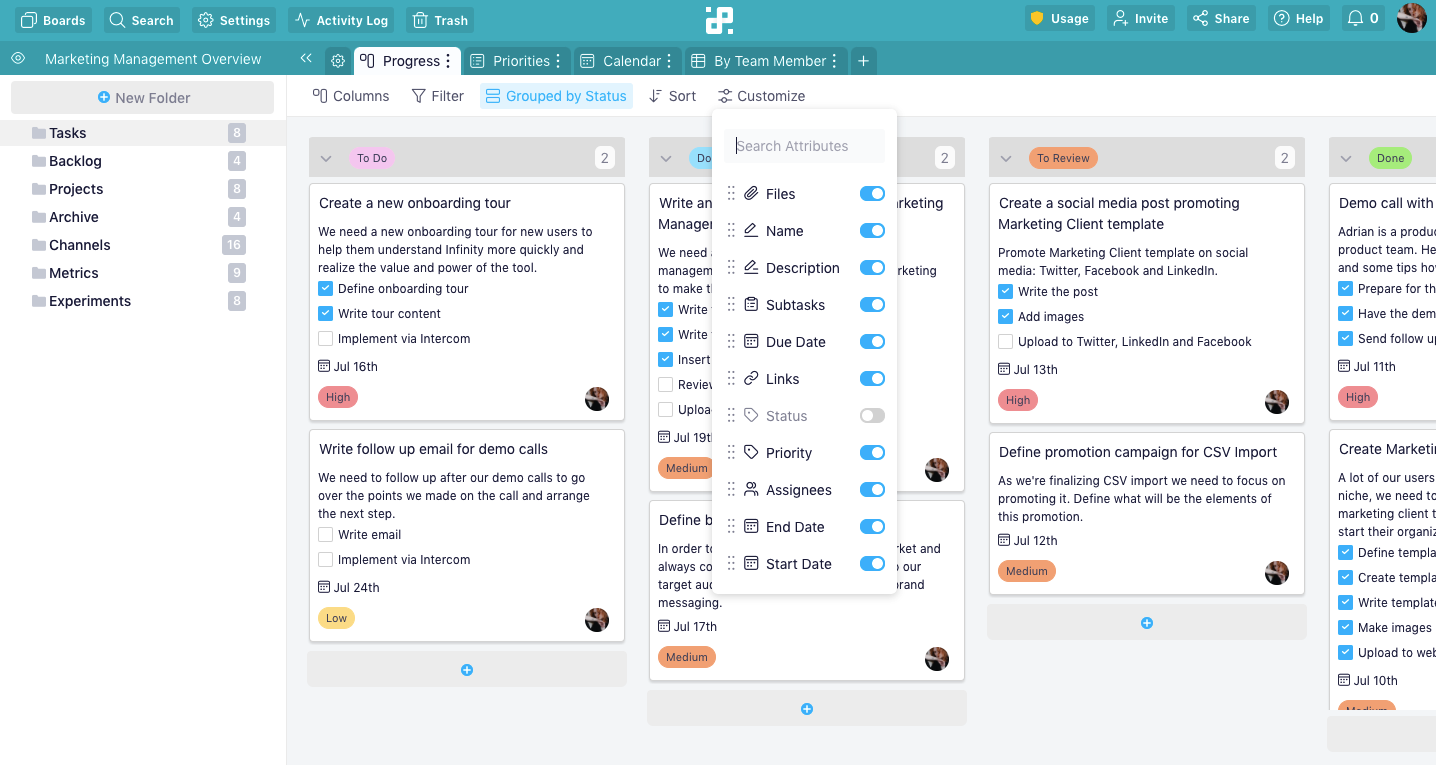
Just like in any other view, it's possible to customize your columns using the filter, sort and customize options (in addition to grouping).
Customize, however, is probably the most useful option here, as it allows you to hide/show different attributes and make items in your columns look neater and better organized.

So, for example, if you have a description that's too long and you don't want to see it in the Columns view, you can simply hide it. If you want to leave only an image, you can do that as well.
For more details about these options, check out our Customization section.
